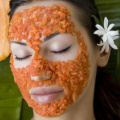
DIY home made peels is all you need to clear your skin woes explains Dr Madhuri Agarwal
Peel your skin woes away with these DIY peels you can make at the comfort of your home! Check it out
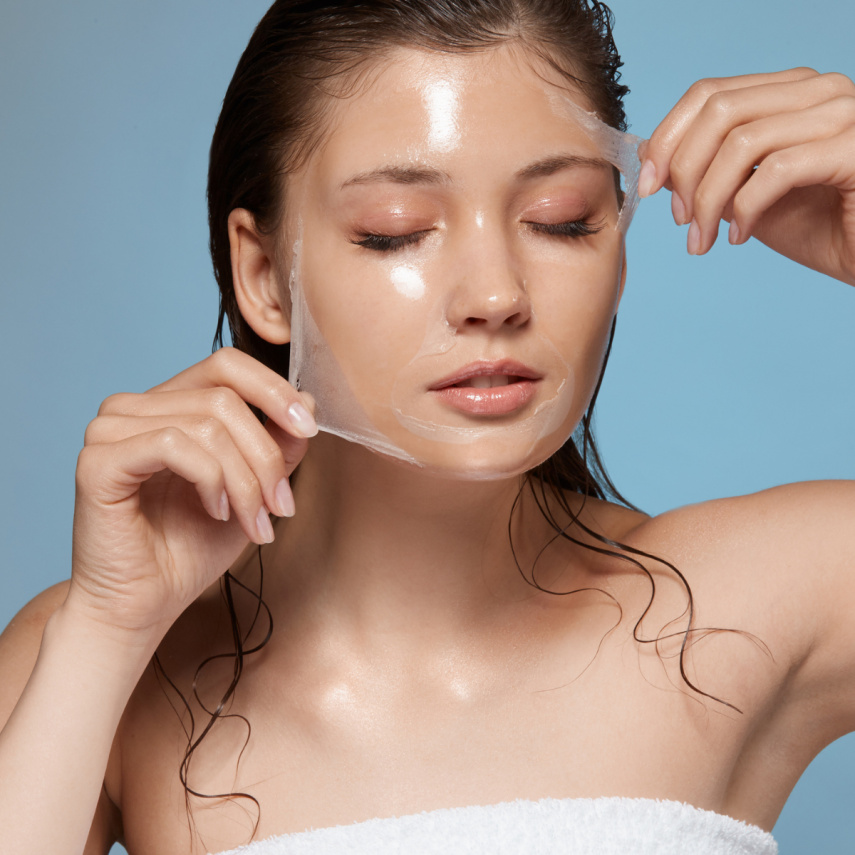
Chemical Peels recommended by dermatologists are well in demand and are known to meet the diverse requirements of your skin. These peels, tested and approved by dermatologists and skin experts, work wonders on dull, dry or oily skin and treat skin woes such as tan, pigmentation, acne, acne marks and signs of ageing.
Many times, availing these chemical peels becomes a hefty task. What do you do then? A quick solution to this problem is resorting to easily available, natural ingredients. Peels formed from these ingredients are milder versions of chemical peels and can be quickly prepared and applied at home with absolutely no assistance!
It is safe to use these natural ingredients since they are an inevitable part of your chemical peels as well. These ingredients could be fruits, vegetables and/or herbs.

The Ultimate “Things To Remember” List For Your Skin!
First things first. Make sure you pay close attention to the following things before you make your way into DIY home peels:
- Know your skin type and identify your skin issue before preparing a peel. Keep in mind that your skin goes through a lot of changes due to the weather or hormonal cycles. You need to tweak the composition of your ingredients and peels accordingly.
- Cease the use of products that comprise the same ingredients as the peel you’re preparing. Do this 3-4 days before and after you apply your peel.
- Make sure you do a patch test. Apply some amount of the peel you’ve prepared on your jawline or in front of your ear a day in advance. This will help you detect the side effects of the peel, if any.
- Handpick your ingredients. They need to be fresh and clean. Wash your hands thoroughly before you prepare your peel and before you apply it on your face.
- Let your peel stay put for about 5-10 minutes only since there are fair chances of your peel being getting more acidic with time.
- If you feel discomfort within minutes of applying your peel, remove it immediately, rinse your face and apply a soothing moisturiser.
Peel Your Skin Woes Away With These DIY Homemade Peels!
Now that you know all that you need to remember about peels, let us take a look at different types of home peels that are easy to make and convenient to apply.

1. Home Peel for Acne:
Acne is an uninvited guest in all our lives. Most chemical peels used by your dermatologist to cure acne consist of salicylic acid. Such Beta Hydroxy Peels can be prepared at the comfort of your home.
Ingredients: A fresh, ripe tomato, mashed pumpkin, cinnamon and ½ tbsp. honey
Method:
- Take a fresh, ripe tomato and add two to three cubes of boiled and mashed pumpkin.
- Add 1/4th tbsp. cinnamon and ½ tbsp. honey to this mixture
- Mix well and apply
- Let it stay put for 5-10 minutes and wash it with cold water
Advantages: Unblocks clogged pores, reduces oiliness and exfoliates skin.
2. Home Peel for Marks, Tan and Uneven Skin:
Alpha Hydroxy Peels such as glycolic acid or lactic acid peels are used to treat marks, tan lines and uneven skin. Alpha Hydroxy Acid can be obtained easily in your kitchen.
Ingredients: Yoghurt, raw sugar and lemon
Method:
- Take two tbsp. of raw, organic sugar and two tbsp. of yoghurt
- Mix them and then blend them in a grinder to make sugar very fine so that it doesn’t irritate your skin
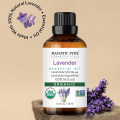
- Add few drops of lavender oil to this mixture and prepare a paste
- Apply this paste on your face and let it stay put for 5-7 minutes
- Then, massage your face gently for a few seconds
- Wash your face with lukewarm water, pat dry and apply some soothing moisturiser

3. Home Peel for Anti-ageing:
Retinol is the main component in chemical peels when it comes to dealing with ageing signs of the skin. The same component can be naturally availed at the comfort of your home.
Ingredients: Carrots and rosehip oil.
Method:
- Take one tbsp. of grated carrot. You can also take 1 tbsp. of a boiled and mashed carrot
- Add few drops of rosehip oil along with one tbsp. of cream cheese and organic apricot oil
- Mix it well to form a paste
- Apply it on your face and let it stay for 10-15 minutes
- Rinse it off with some lukewarm water and pat dry
These DIY home peels are simple, pocket-friendly and easy to apply. Its time to revamp your skin regimes then!
Inputs by: Dr Madhuri Agarwal, Founder & Medical Director, Yavana Aesthetics Clinic
ALSO READ: Struggling with under eye bags and dark circles? THIS DIY eye cream is all that you need


 JOIN OUR WHATSAPP CHANNEL


