How to Distress Jeans: Slay the Style
Get the perfect worn-in look with our guide on how to distress jeans! From cutting and ripping to sandpaper, we've got you covered with a variety of methods!

Distressed jeans have become a popular fashion trend, offering a stylish and edgy look to any outfit. So, if you are someone who’s always wondered how to distress jeans and wish to achieve that trendy, worn-in look with your favorite pair of denim, you're in the right place. By intentionally adding rips, frays, and faded areas, you can achieve that effortlessly cool and lived-in appearance. In this guide, we will explore various techniques and tips to distress your jeans effectively, allowing you to customize your denim with your desired level of distressing. Whether you prefer a subtle distressed look or a more dramatic, grunge-inspired style, this guide will provide you with the essential steps and methods on how to distress denim to create a unique, fashion-forward statement piece. So, roll up your sleeves, grab your denim, and let's get started on this exciting denim adventure!
What Are Distressed Jeans?

Distressed jeans are the rebels of the denim world, the cool kids who dare to break the rules of fashion. They are a style of denim pants that have intentionally been roughed up, and made to look worn, aged, and vintage. They are characterized by strategically placed rips, artfully worn-out patches, holes, frayed edges, and faded washes on the fabric, giving them a distressed or worn-in appearance.
Likewise, creating distressed jeans is like being a denim magician, using a variety of tricks to give your jeans that effortlessly cool, edgy, and relaxed, worn-in look. This artistic transformation entails a variety of techniques to achieve the desired effect. From skillfully cutting small, vertical thread slits to teasing out threads and crafting frayed holes, to adding carefully placed scrapes and abrasions, the distressing process aims to mimic the natural wear and tear that occurs on jeans over time with regular use. The result? A stunningly stylish, yet authentically worn-out appearance that sets your distressed denim apart from the rest.
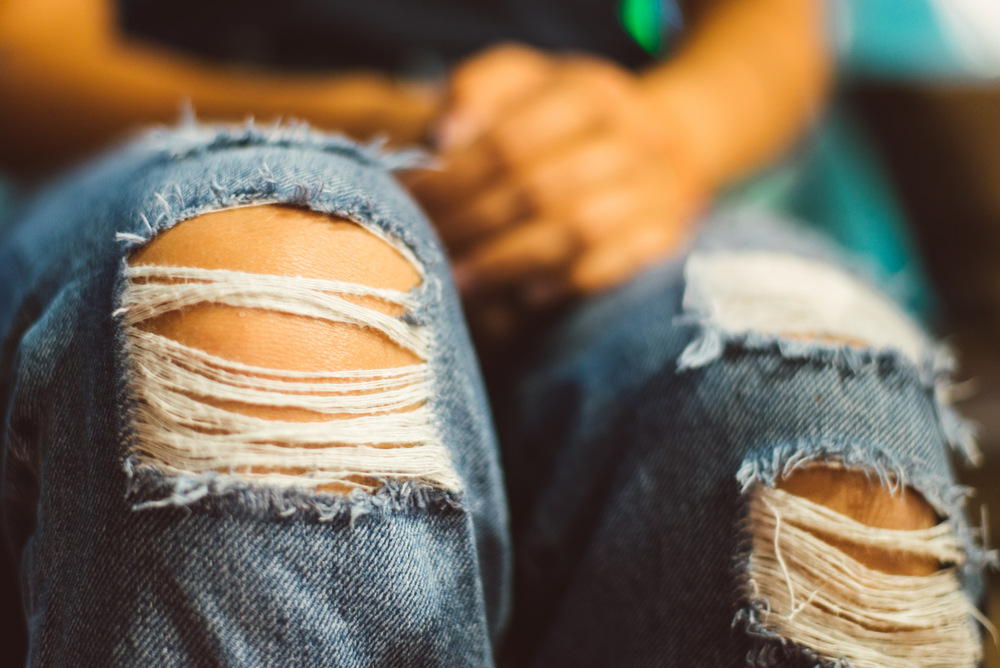
Distressed jeans offer a delightful array of styles to cater to every denim enthusiast's taste. Whether you prefer the sleek silhouette of skinny jeans, the timeless appeal of straight cuts, the bohemian charm of bootcut, or the relaxed comfort of boyfriend jeans, there's a distressed version to match your personal style. These fashion rebels come in a captivating range of washes, spanning the spectrum from light to dark denim, each adding its own character to the mix. With their rebellious charm, distressed jeans effortlessly elevate casual outfits, giving them a touch of edgy flair. The beauty of these versatile bottoms lies in their ability to be paired with a myriad of tops and footwear choices, allowing you to create endless stylish ensembles that exude a trendy and laid-back vibe.
How to Distress Jeans: 7 Best Techniques
1. Using a Pumice Stone:
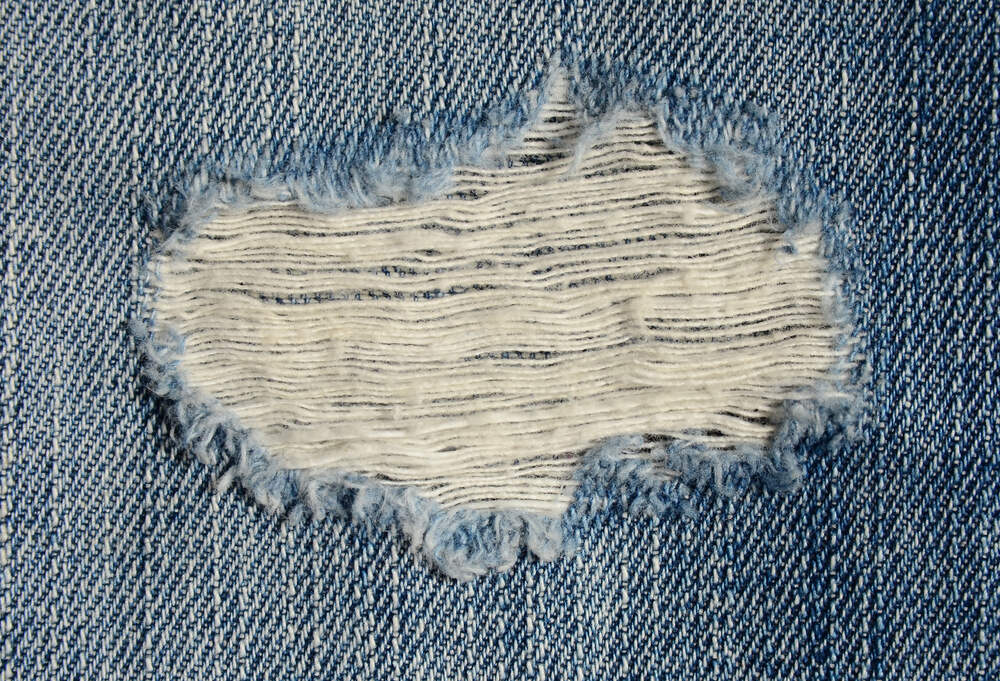
Distressing jeans using a pumice stone is a super creative way to achieve the stylish and vintage look that ripped jeans provide. This process usually uses the washing machine. However, since a new washer is much more expensive than buying new ripped jeans- it's not the best idea to use it for a DIY project! However, it can be done without a washing machine, using just a few simple tools and materials.
- Step 1: The first step is to gather all necessary materials. You will need a few items to distress your jeans using a pumice stone. These include a pumice stone (easily available at most drugstores or online), a spray bottle filled with water, a flat surface to work on, and of course, a pair of jeans that you want to distress.
- Step 2: The second step is to prep your workspace. Find a flat surface such as a table or countertop to work on. Place a towel or old cloth underneath the jeans to protect the surface from any scratches or damage.
- Step 3: The next step is to dampen the jeans and wet them. Use the spray bottle filled with water to dampen the areas of the jeans where you want to create the distressed look. This will soften the denim fibers and make it easier to distress them using the pumice stone.
- Step 4: You can now start distressing the jeans. Take the pumice stone and gently rub it against the dampened areas of the jeans in a back-and-forth motion. Apply moderate pressure and work in circular motions to achieve the desired level of distress. Focus on areas like the knees, thighs, pockets, and edges to create a natural-looking distressed effect.
- Step 5: Make sure that you're keeping things natural. To create a more authentic distressed look, try to mimic the patterns of wear and tear that occur naturally on jeans. Avoid overdoing it, as it can make the jeans look fake or overly damaged.
- Step 6: Make sure to inspect and only then repeat. Once you know how to distress jeans the right way, this step will become much easier. Periodically stop and inspect your progress as you work. If you're happy with the level of distressing, move on to the next step. If you want to add more distressing, continue using the pumice stone until you achieve the desired look.
- Step 7: Once you're satisfied with the distressed look of your jeans, use a clean, damp cloth to wipe away any excess denim fibers or dust from the jeans.
- Step 8: Allow the jeans to air dry completely before wearing or washing them. This will help set the distressed look and prevent any potential color bleeding or damage during washing. By following these steps and taking your time, you can achieve a unique and personalized distressed look.
2. Using Sandpaper:
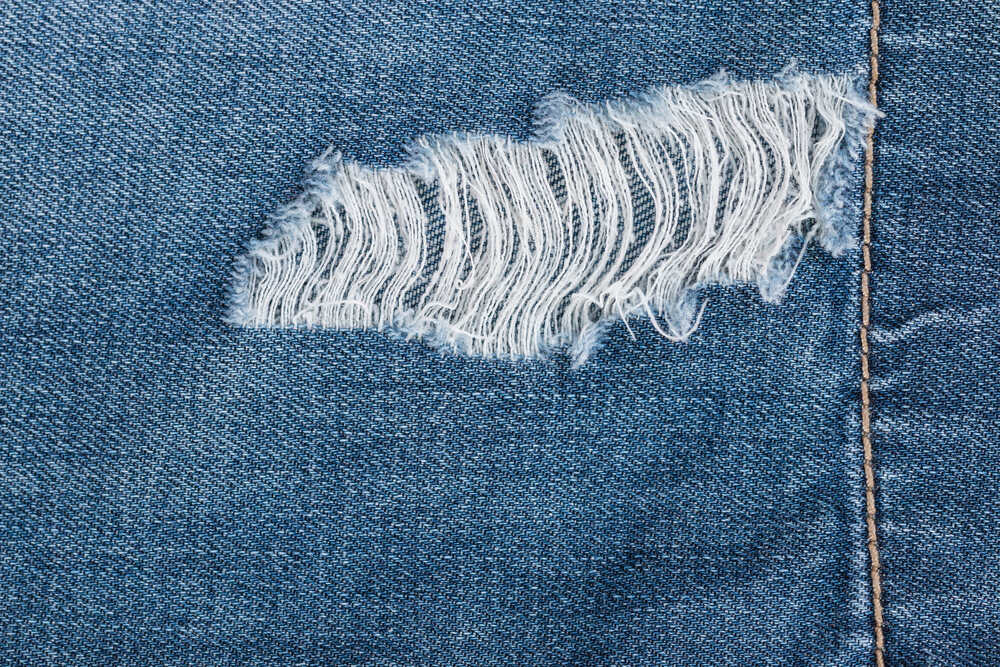
Distressing jeans using sandpaper is a popular DIY technique to achieve a ripped look. Here's a step-by-step guide on how to rip jeans using sandpaper.
- Step 1: Similar to the above method, the first step is to gather materials. Gather a pair of jeans that you plan to rip, sandpaper (medium to coarse grit), and also make sure there is a hard surface (e.g., a tabletop or wooden block) present.
- Step 2: Go on to choose areas to distress. Common areas include the knees, thighs, pockets, and hems. You can mark these areas with a pencil or chalk if you wish, to guide your sanding.
- Step 3: Then go on to prep the jeans. Lay your jeans on a hard surface, such as a tabletop or wooden block, and smooth out any wrinkles. If you want to distress specific areas, you can stuff a towel or cardboard inside the jeans to create a barrier and protect the backside of the jeans from sanding.
- Step 4: You can now start sanding the jeans. Take the sandpaper and begin rubbing it back and forth over the areas you want to distress. Use medium to coarse grit sandpaper for more noticeable distressing. Apply pressure and sand in a circular or back-and-forth motion, depending on the look you want to achieve. Keep sanding until you're satisfied with the level of distressing.
- Step 5: To create a natural-looking distressed effect, focus on areas that would naturally experience wear and tear over time, such as the edges of pockets, the knees, and the hems. Pay attention to details like seams and stitching, as distressing these areas can add to the overall vintage look.
- Step 6: The next step is to add the finishing touches. After sanding, you can use a damp cloth to remove any sanding residue and soften the distressed areas. You can also use scissors or a razor blade to create small cuts or frays for additional distressing.
- Step 7: Lastly, once you're done distressing, wash and dry your jeans according to the manufacturer's instructions. This will help set the distressed look and give your jeans a more natural and worn-in appearance. With some patience and practice, you can create unique and stylish distressed jeans that reflect your personal style.
3. Tacking:
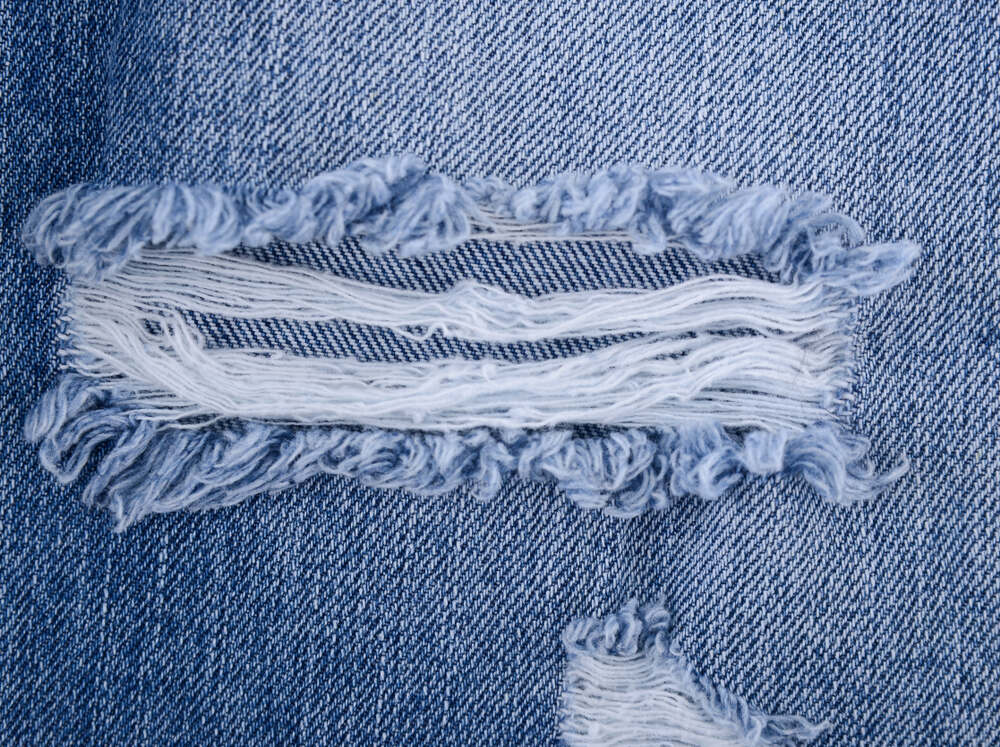
Next on the list of how to make ripped jeans at home is a common technique used in distressing jeans called "tacking." Tacking involves manually creating small, frayed holes or areas of wear on the denim fabric to achieve a distressed appearance. Here's a step-by-step guide on how to tack jeans.
- Step 1: You will need a few basic tools and materials for this process. You will need a pair of jeans that you want to distress, a pair of scissors or a utility knife, tweezers or a needle, and a flat surface to work on.
- Step 2: Decide where you want to distress your jeans. Common areas to distress are the knees, thighs, pockets, and hems. Use a pencil or chalk to mark the areas you want to distress. This will serve as a guide for the next steps.
- Step 3: Using scissors or a utility knife, make small vertical cuts along the marked areas. These cuts should be about 1/8 to 1/4 inch apart, depending on the level of distress you want to achieve. Be careful not to cut through both layers of fabric if you are distressing both the front and back of the jeans.
- Step 4: Then go on to pull out the threads. Using a pair of tweezers or a needle, carefully pull out the white threads from the horizontal line between the vertical cuts. This will create frayed holes and add to the distressed look. You can pull out as many threads as you want, depending on how distressed you want the jeans to look.
- Step 5: Go on to repeat the process. Continue making cuts and pulling out white and blue threads until you have achieved the desired level of distressing. You can also use the scissors or utility knife to create additional cuts or scrapes to add to the distressed effect.
- Step 6: After you have finished tacking, wash and dry the jeans to help set the distressed look. This will also help to further fray the edges of the cuts and give the jeans a more natural, worn-in appearance.
- Step 7: This is a completely optional step. You can use other distressing techniques If you want to further customize the distressed look of your jeans, you can also use sandpaper, bleach, or other techniques to add fading, whiskering, or other distressed effects. Also, remember to always exercise caution when using scissors or utility knives, and experiment with different techniques to achieve the desired level of distressing for your jeans.
4. Cutting:
Another common method of distressing jeans is cutting, which involves intentionally creating cuts, slashes, or holes in jeans to achieve a distressed appearance.
- Step 1: Start by selecting a pair of jeans that you want to distress. Look for jeans made of sturdy denim, as thinner denim may not hold up well to cutting. Then go on to gather the equipment. You will need a few tools for distressing jeans through cutting, including sharp scissors, a pen or marker, and a ruler or measuring tape.
- Step 2: Before you dive in, be sure to plan the cuts. Decide where you want to distress your jeans and mark those areas with a pen or marker. You can create cuts on the knees, thighs, pockets, or anywhere else you want to distress. Use a ruler or measuring tape to ensure straight and even cuts.
- Step 3: Once you've decided, you can start cutting. Use sharp scissors to make cuts along the marked areas. You can make straight cuts for a clean look or create uneven cuts for a more distressed appearance. You can also vary the length and width of the cuts for a more natural and worn look.
- Step 4: After making the cuts, use your fingers or try to gently pull out some threads with tweezers from the edges of the cuts. This will create a frayed effect, adding to the distressed look.
- Step 5: If desired, you can add more cuts or slashes to achieve the desired level of distressing. Be mindful not to cut too much, as it may weaken the integrity of the jeans.
- Step 6: Once you are satisfied with the distressing, wash and dry the jeans to further enhance the distressed look. This will help fray the cut edges and give the jeans a more worn appearance.
5. Patching:
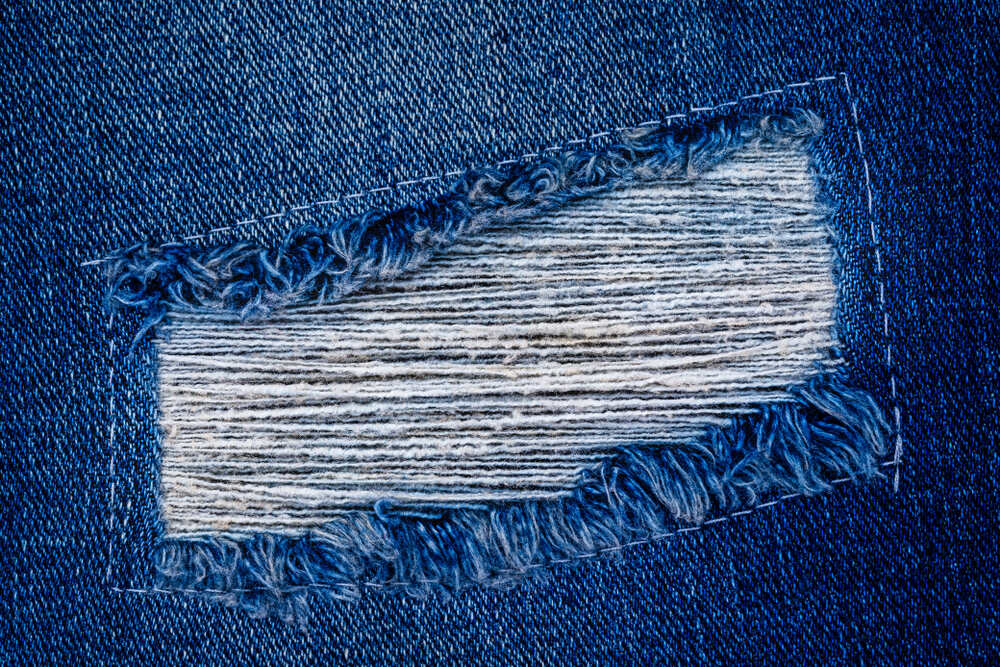
Another common method of distressing jeans is cutting, which involves intentionally creating cuts, slashes, or holes in jeans to achieve a distressed appearance.
- Step 1: Start by selecting a pair of jeans that you want to distress. Look for jeans made of sturdy denim, as thinner denim may not hold up well to cutting. Then go on to gather the equipment. You will need a few tools for distressing jeans through cutting, including sharp scissors, a pen or marker, and a ruler or measuring tape.
- Step 2: Before you dive in, be sure to plan the cuts. Decide where you want to distress your jeans and mark those areas with a pen or marker. You can create cuts on the knees, thighs, pockets, or anywhere else you want to distress. Use a ruler or measuring tape to ensure straight and even cuts.
- Step 3: Once you've decided, you can start cutting. Use sharp scissors to make cuts along the marked areas. You can make straight cuts for a clean look or create uneven cuts for a more distressed appearance. You can also vary the length and width of the cuts for a more natural and worn look.
- Step 4: After making the cuts, use your fingers or try to gently pull out some threads with tweezers from the edges of the cuts. This will create a frayed effect, adding to the distressed look.
- Step 5: If desired, you can add more cuts or slashes to achieve the desired level of distressing. Be mindful not to cut too much, as it may weaken the integrity of the jeans.
- Step 6: Once you are satisfied with the distressing, wash and dry the jeans to further enhance the distressed look. This will help fray the cut edges and give the jeans a more worn appearance.
6. Patching:
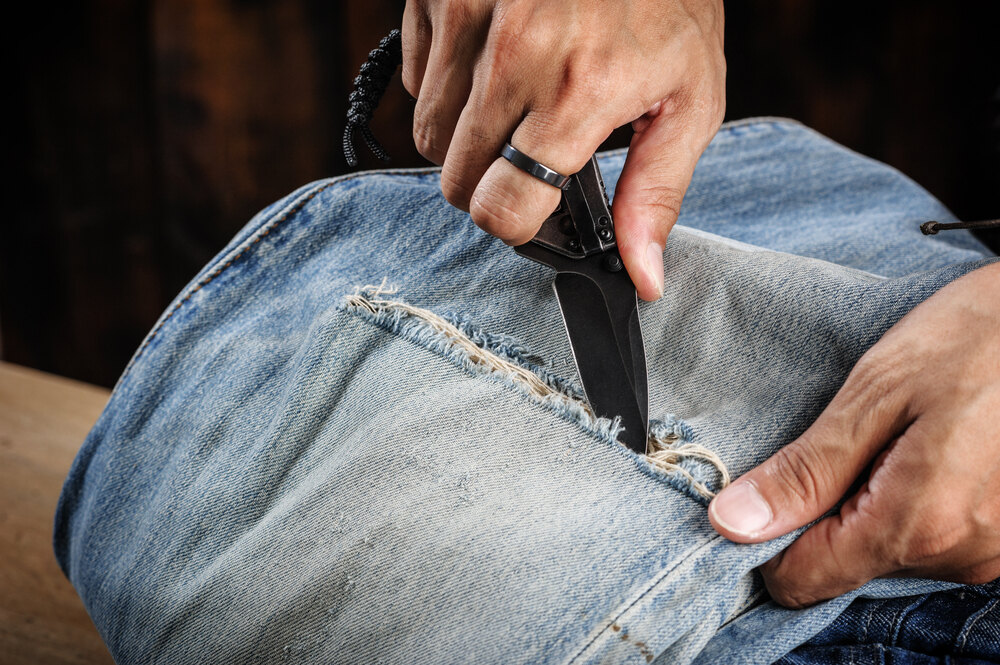
Another alternative on the list of how to make distressed jeans is by ripping them using tools such as a razor blade.
- Step 1: You will need a few basic materials to rip jeans with a blade, including a pair of jeans, a sharp blade (such as a utility knife or box cutter), a cutting mat or cardboard, and a pen or chalk for marking.
- Step 2: Decide where you want to create the rips on your jeans. Common areas for distressing include the knees, thighs, pockets, and hems. You can also experiment with different placements and styles to achieve your desired look.
- Step 3: Using a pen or chalk, mark the areas on your jeans where you want to create the rips. You can outline the shape and size of the rip or make small dots to guide your cutting.
- Step 4: Place the cutting mat or cardboard Insert a cutting mat or a piece of cardboard inside the jeans, underneath the area you are cutting. This will prevent the blade from cutting through the back of the jeans and damaging the other side.
- Step 5: Using the blade, carefully make small cuts along the marked lines or dots. Start with shallow cuts and gradually increase the depth as desired. You can make straight cuts, angled cuts, or curved cuts to create different types of rips.
- Step 6: After making the cuts, use your fingers or a tweezer to pull and fray the threads around the edges of the cuts. This will create a more natural and distressed look. You can pull out as many or as few threads as you like, depending on the level of distress you want to achieve.
- Step 7: Another option step is if you want to enhance the distressed look, you can cold wash and dry the jeans after ripping them. This will further fray the edges and give the rips a more worn-in appearance.
- Step 8: If desired, you can add additional distressing techniques such as sandpaper or bleach to further customize the look of the ripped jeans. Experiment with different distressing methods to achieve your desired style. With these steps, you can successfully distress jeans by ripping them with a blade. Always exercise caution and be careful when using sharp blades, and start with minimal cuts, as you can always add more distressing later if needed. Have fun experimenting and creating your own unique distressed jeans!
7. Washing Machine:

As mentioned above, trying any technique involving a washer can be extremely tricky and can even cost you a new washer. However, if you are confident about using your washer and dryer and want to try this method, you can go ahead! Here's a step-by-step guide on how to distress jeans using different objects during the washing and drying process:
- Step 1: You will need a few basic materials for distressing jeans using different objects, including a pair of jeans, a washing machine, a dryer, and various objects for agitation. Some common objects used for distressing jeans during washing and drying include rocks, chains, baseballs, or even metal bolts.
- Step 2: Select the objects you want to use for agitation during the washing and drying process. Consider the size, weight, and texture of the objects to determine the level of distress you want to achieve. Heavier and rougher objects will create more agitation and distress on the denim.
- Step 3: Load the jeans and objects into the washing machine Place the jeans and the chosen objects into the washing machine. Make sure to distribute the objects evenly in the washing machine to ensure balanced agitation.
- Step 4: Add detergent and start washing cycle Add your usual amount of detergent to the washing machine and start a regular wash cycle. Use cold or cool water, as hot water can cause more shrinkage and fading of the denim.
- Step 5: During the washing cycle, monitor the progress and check the distressing on the jeans. If you want more distressing, you can pause the cycle and add more time or run an additional cycle with the objects.
- Step 6: Once the washing cycle is complete, transfer the jeans and objects to the dryer. If possible, use a dryer with a tumbling action, as this will help create more agitation and distress.
- Step 7: Run the dryer cycle with the objects and jeans. The objects will tumble and agitate against the denim, creating distressing effects. Monitor the progress and adjust the drying time as needed to achieve your desired level of distress.
- Step 8: Once the desired level of distressing is achieved, remove the objects from the dryer and finish drying the jeans as per the manufacturer's instructions. This may include air-drying or using a low-heat setting in the dryer.
- Step 9: If desired, you can further distress the jeans using other techniques such as sandpaper, bleach, or scissors to create frayed edges or small holes. Be creative and experiment with different distressing methods to achieve your desired look. With these steps, you can distress jeans using different objects during the washing and drying process. Always be cautious and consider the type and weight of the objects you use to avoid damaging the washing machine or dryer. Have fun experimenting and creating your own unique distressed jeans!
To sum it up, learning how to distress jeans can be a fun and creative DIY project that allows you to customize your denim into something fun and elevated! By following simple and genuine techniques like sandpaper, pumice stone, or soft brushing, you can achieve a unique distressed effect without ruining your jeans. Remember to start with jeans in good condition, use gentle methods, distress gradually, and consider washing and drying to soften the edges. So, grab your jeans, get creative, and have fun distressing your denim to create a trendy, personalized style that reflects your unique fashion sense!


 JOIN OUR WHATSAPP CHANNEL


